Got an empty home sitting around? That’s potential money just waiting to be unlocked. You don’t need months of planning or a giant budget to launch an Airbnb. With a clear plan, smart tools, and the right mindset, you can go from vacant to fully booked in two weeks or less. Here’s how to do it step-by-step—even if you’re starting from zero.
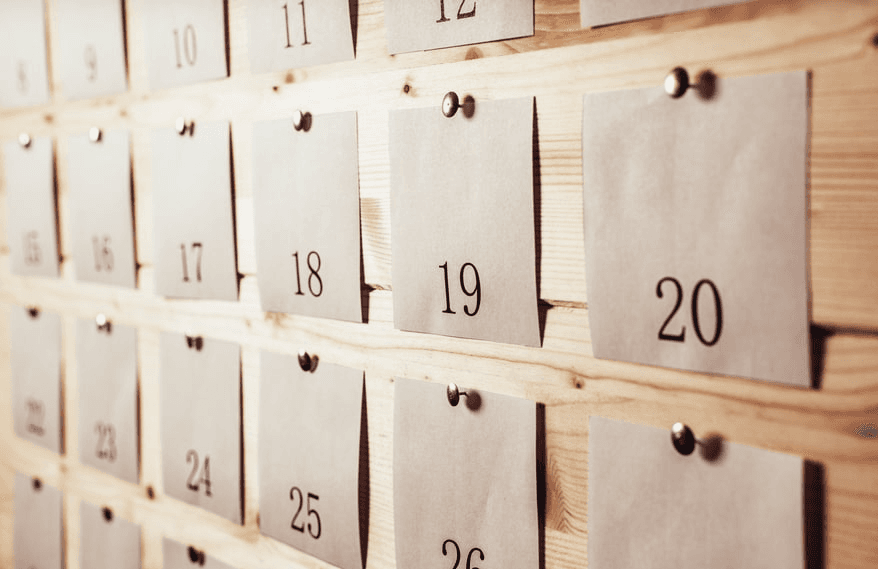
Day 1–2: Finalize Your Plan and Permissions
Before buying anything, make sure:
- Your city allows short-term rentals (check licensing rules and taxes)
- You’ve decided on the rental strategy (short-term, mid-term, or both)
- You’ve gathered any required permits or insurance
Tip: If local short-term rentals are restricted, consider 30+ day mid-term rentals for flexibility.
Day 3–5: Furnish Strategically
Focus on the essentials guests care about:
- Comfortable queen/king-size bed
- Full-length mirror, blackout curtains, nightstands
- Smart TV + fast Wi-Fi
- Fully stocked kitchen (basic cookware, utensils, toaster, kettle)
- Dining area for at least 2–4 people
- Sofa (preferably a pull-out) and rug for warmth
- Basic decor (plants, art, pillows—keep it neutral and clean)
Use IKEA, Facebook Marketplace, Wayfair Open Box, or Amazon Prime to get items fast and on budget.
Day 6–7: Handle Cleaning and Setup
- Deep clean everything or hire a professional cleaner
- Wash and prep bedding, towels, and linens
- Set up a cleaning checklist for turnover
- Place a few thoughtful touches (snacks, water, local guide)
This is your guest’s first impression—don’t rush this part.
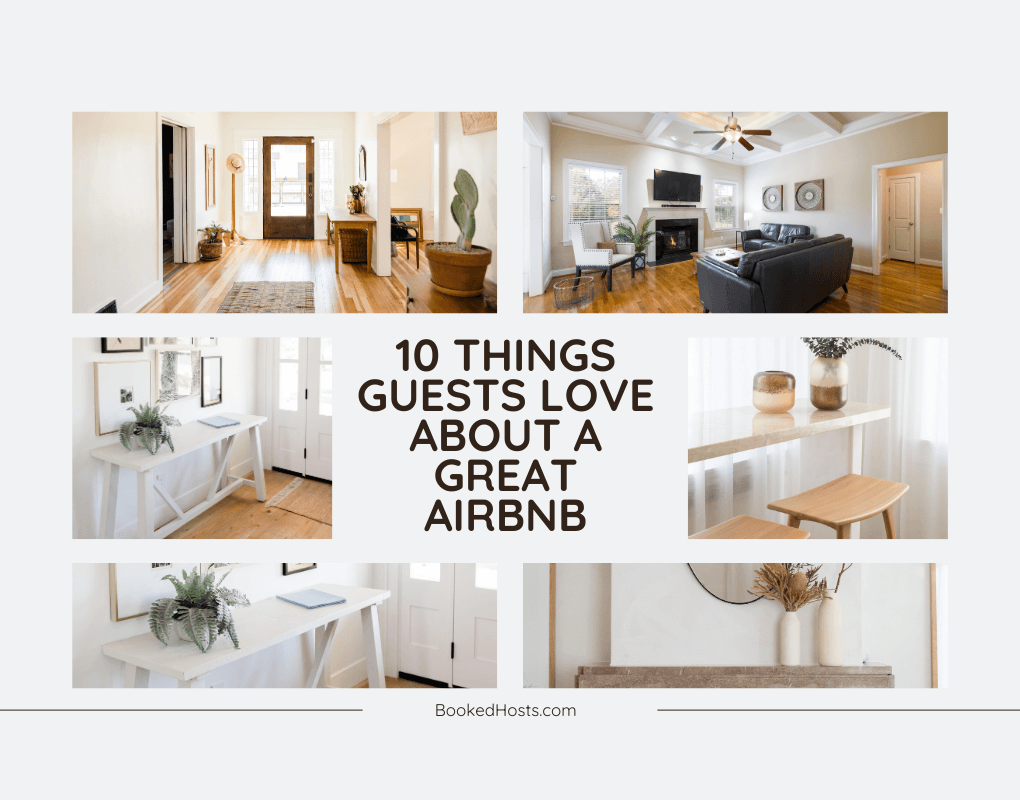
Day 8: Take Professional Photos
Good photos = more bookings.
- Use natural light and wide angles
- Include every room (even bathroom and entryway)
- Take shots from multiple angles
- Use a smartphone tripod or hire a budget photographer if needed
Bonus: Add captions for each photo when uploading to Airbnb.
Day 9: Write Your Listing
Create your Airbnb listing with:
- A strong title (include type of stay: “Perfect for Work Trips | Cozy 1BR in Downtown”)
- Detailed but scannable description (bullet points are great)
- Accurate amenities and house rules
- Clear check-in/check-out times and cleaning fee
Use Airbnb’s Smart Pricing but review comps in your area to stay competitive.
Day 10–11: Set Up Automation
Get your systems ready before the first guest arrives:
- Automated messages (Hospitable, Hostaway)
- Dynamic pricing (PriceLabs, Beyond)
- Smart locks (August, Yale, Schlage) for self-check-in
- Turnover scheduling (TurnoverBnB)
These tools let you host like a pro from Day 1.
Day 12: Order Essentials and Stock the Unit
Don’t forget the basics:
- Toilet paper, paper towels, dish soap, hand soap
- Coffee, tea, condiments
- Extra linens and towels
- Plunger, broom, dustpan, mop
Place backups in a locked closet or labeled bins for your cleaner.
Day 13: Final Walkthrough and Trial Stay
Test everything. Pretend you're the guest.
- Does the Wi-Fi work?
- Are instructions clear?
- Is anything missing, broken, or confusing?
Bonus tip: Sleep there one night yourself or have a friend do a soft launch.
Day 14: Go Live and Start Booking
Turn on Instant Book if you’re confident. Share your listing on:
- Facebook Marketplace
- Local relocation or travel groups
- Instagram bio and stories
- Furnished Finder (if doing mid-term stays)
Ask friends to save your listing, favorite it, and send you a test inquiry to help boost visibility in Airbnb’s algorithm.
You Don’t Need Perfection—Just Progress
Too many people overthink the launch. You don’t need five-star design or an interior decorator. You just need a clean, functional space, great photos, and clear communication. The bookings will tell you what needs improvement over time—just start.
Want help launching your Airbnb, setting up your systems, or turning a vacant property into a booked one? BookedHosts offers done-for-you and virtual co-hosting services to help you go from empty to earning—fast. Email info@bookedhosts.com or scroll down to submit your property today.